How to Properly Run a Website Speed Test (8 Best Tools) - MyHBD
June 19, 2020
Do you want to run a website speed test? Most beginners don’t know where to begin and what to look for in their website speed test.
There are a ton of online website speed test tools that you can use. However, all of them present results in a way that it becomes incomprehensible for non-tech savvy users.
In this article, we’ll show you how to properly run a website speed test and the best tools to run your speed tests.
Best Tools to Run a Website Speed Test
There are a lot of free and paid website speed test and performance monitoring tools that you can use. Each one of them has some really cool features that distinguish them.
You don’t need to just test your website with one tool. You can use multiple tools and run multiple tests to be thorough.
However, we recommend users to just use these tools to improve your website performance. Trying to achieve a perfect grade or score on these tools is often extremely difficult and quite impossible in most cases for real-world functioning websites.
Your goal should be to improve your page load speed for your users, so they can enjoy a faster and consistent user experience on your website.
Having said that, let’s take a look at the best tools to run a website speed test.
1. IsItWP Website Speed Test Tool
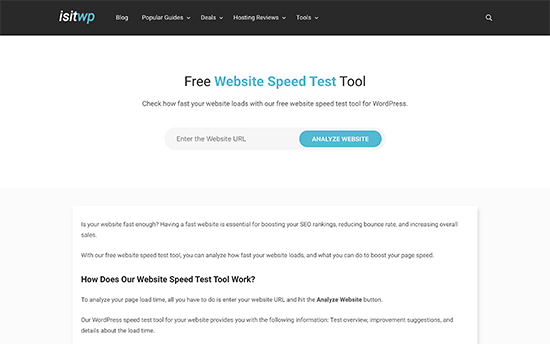
IsItWP’s free website speed test tool is the most beginner-friendly website speed testing tool. It allows you to quickly check your website performance, run multiple tests, and drill down the results to find out what’s slowing down your website.
You also get improvement suggestions neatly organized. You can click on each category to see the steps you can take to troubleshoot performance issues. The website also offers server uptime monitoring and other useful tools for website owners.
2. Pingdom
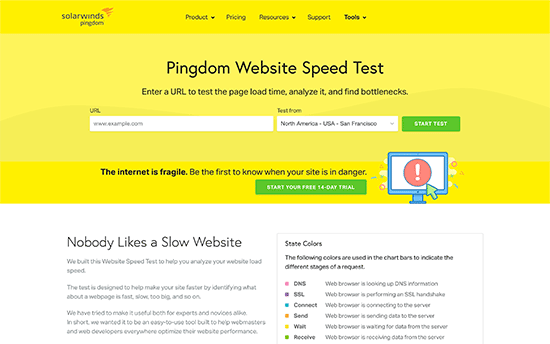
Pingdom is one of the most popular website performance monitoring tool. It is easy to use and allows you to select different geographical locations to run a test which is really handy.
The results are presented with an easy to understand overview, which is followed by the detailed report. You get performance improvement suggestions at the top and individual resources as they loaded.
3. Google Pagespeed Insights
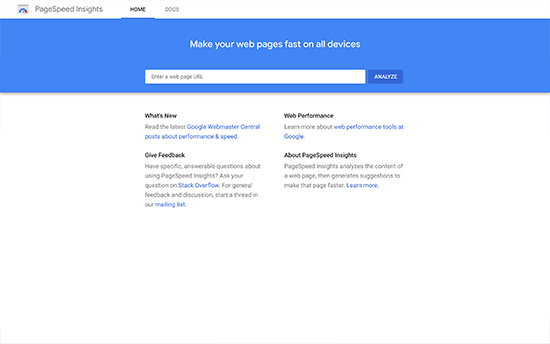
Google Pagespeed Insights is a website performance monitoring tool created by Google. It gives you website performance reports for both mobile and desktop views. You can switch between these reports and find some issues that are common among both reports and some that Google recommends being fixed in the mobile view.
You also get detailed recommendations for each issue, which is helpful for developers. However, the tool itself is a bit intimidating for beginners and non-developer users.
4. GTmetrix
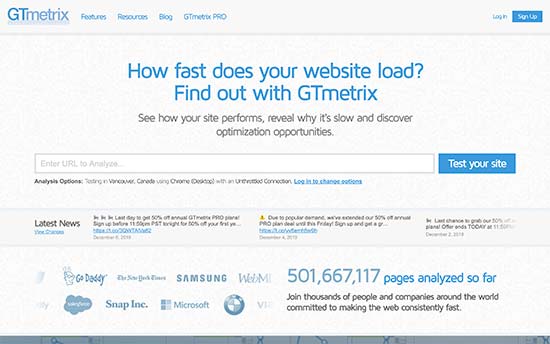
GTmetrix is another powerful website speed testing tool. It allows you to test your website using popular tools like pagespeed and YSlow. You can change geographic location and browser by creating an account.
It shows detailed reports with a brief summary of the results. You can switch between the two tools and view recommendations. Clicking on each recommendation will provide you with more details.
5. WebPageTest
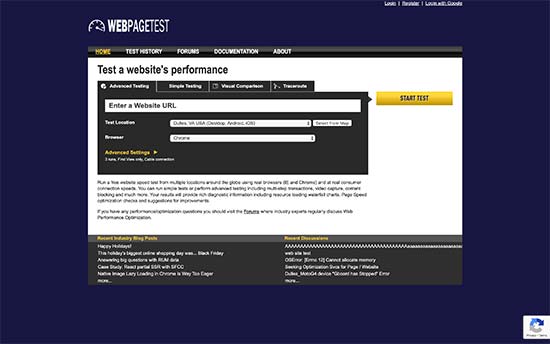
WebPageTest tool is another free online speed test tool that you can use. It is a bit more advanced than some other tools on our list. However, it does allow you to choose a browser and geographic location for your tests.
By default, it runs the test 3 times to get your website speed test results. It shows a detailed view of each result which you can click to expand and view the full report.
6. Load Impact
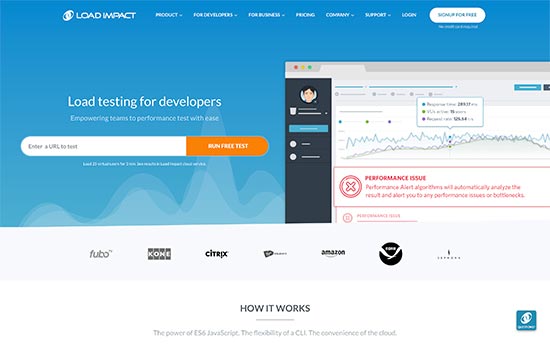
Load Impact is slightly different than other website speed test tools on this list. It allows you to see how your website slows down when more visitors arrive at the same time.
It is a paid service with a limited free test, which allows you to send 25 virtual users within 3 minutes. The paid version allows you to test larger traffic loads. This helps you test website speed test, while also testing how increased traffic affects your website.
7. Uptrends
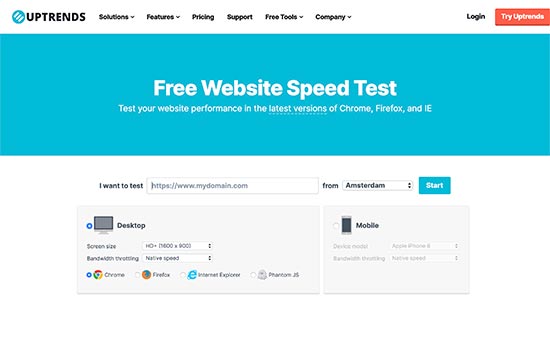
Uptrends is another free website speed test tool. It allows you to select a geographic region, browser, and switch between mobile and desktop tests.
Results are simple and easy to understand as it also shows your Google pagespeed score in the summary. You can scroll down for details and comb through your resources to understand the performance issues.
8. Byte Check
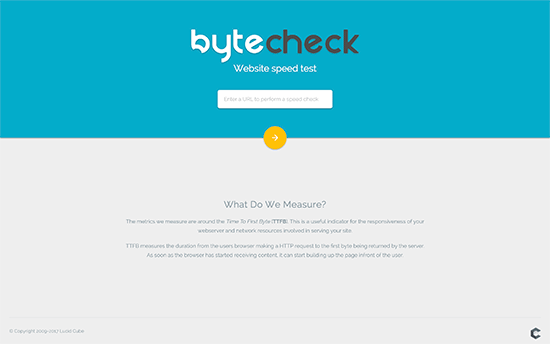
Byte Check is another free website response time checker. It is made specifically to check TTFB (time to first byte) measurement, which is the time your website takes to deliver the first byte of data back to user’s browser. It is a highly effective way to test how faster your WordPress hosting server is.
You can use any of the tools mentioned above to check your website speed and performance. However, simply running the tests alone would not help you much.
You’ll need to learn how to run these tests properly and use the data to optimize your website.
How to Properly Run a Website Speed Test
Running website speed tests is not guaranteed to tell you exactly how your website performs.
You see, the internet is like a highway. Sometimes there is more traffic or congestion which may slow you down. Other times, everything is clear and you can run through it much quicker.
There are several other factors involved which would affect the quality and accuracy of your results. It is important to run these tests thoroughly before you start analyzing the data.
Let’s see how to properly run a website speed test to get more accurate results.
1. Run Multiple Tests
There are multiple factors that can affect your test. Even though most website speed test tools run over the cloud at the fastest internet speeds, each test would show you slightly different results.
The most important difference you will notice is the time it took to download the complete webpage. We recommend running at least 3 tests to get a more accurate picture.
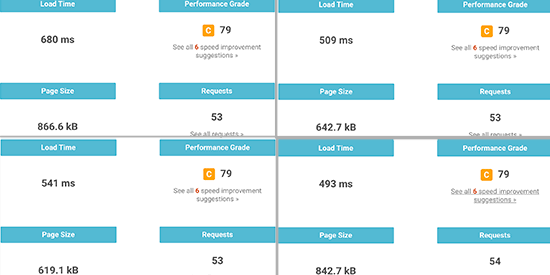
You can then take out an average result and use it to decide whether or not your website needs improvement.
2. Test from Different Geographic Locations
If most of your customers visit your website from Asia, then testing your website speed using servers located in the USA would not be ideal.
The test results will show you a different user experience than what your actual users are feeling when they visit your website.
This is why you need to use Google Analytics to see where your users are coming from. After that, use that information to select a geographic region for your tests.
For example, if you learned that most of your website users are coming from Europe, then choosing a test server in Germany will give you the closest results.
If your website visitors are from all over the world, then you can run multiple tests to find out how your website performance varies for different regions.
3. Make Sure Your Website Caching is Turned On
Make sure that your website caching is turned on before running the tests. This would allow you to test website caching and how effective it is in improving the performance.
Now the problem is that some caching solutions only store cache when a user requests the page. This means cache takes some time to build and may expire by the time you run the tests.
This is why we recommend WP Rocket. It is the best WordPress caching plugin that lets you setup your WordPress cache with a few clicks and without learning technical stuff.
The best part is that it proactively builds your website cache, which significantly improves your website performance. See our guide on how to set up WordPress cache using WP Rocket for more details.
4. Check the Performance of Your Website Firewall / CDN Service
While WordPress caching plugins can do a lot, they definitely have their limitations. For example, it cannot block DDOS attacks and brute force attempts. It also does nothing against spambots which means your server resources get wasted a lot.
This is where you need Sucuri. It is the best WordPress firewall plugin which improves your server performance by blocking malicious requests.
Now, normally all your website files are served from the same server. You can improve this by adding a CDN service to your website. We recommend using MaxCDN (by StackPath), which is the best CDN solution for beginners.
A CDN service allows you to serve static website files like images, stylesheets, and scripts through a network of servers spread around the globe. This reduces the server load on your website, makes it load faster, and improves user experience for all your users.
Turning on your CDN service and the firewall will improve your test results significantly.
Understanding Website Speed Test Results
The most important parameter that you should look into is the time it takes your website to load.
This is the parameter that affects your users the most. If your website takes longer to load, then users may decide to hit the back button, have a bad impression of your brand, and consider your website of low quality.
If your website is taking longer than 2 seconds to load, then look at the drill-down reports. Find out which resources are taking longer to load.
Usually, these are images, stylesheets, scripts loading from third-party websites, video embeds, and so on. You would want to make sure that those images are served from the cache or your CDN service.
You would also want to pay attention to how long your server takes to respond to each request and how much time time it takes to deliver the first byte.
You would also want to make sure that browser compression (also called gzip compression) is working. This reduces the filesizes between your server and user’s browser by compressing them.
If your page has lots of images and videos, then you may want to consider deferred loading techniques also called lazy loading. This allows content to be loaded when a user scrolls down and only loads the content that is visible on the user’s screen.
As always, you definitely want to make sure your images are optimized for web by using an image compression tool.
The second important parameter you would want to test is the TTFB (time to first byte). If your web server is continuously showing a slower time to the first byte, then you may need to talk with your web hosting company.
All top WordPress hosting companies like Bluehost, SiteGround, and WP Engine have their own caching solutions. Turning on your host’s caching solution may significantly improve TTFB results.
Sepehr Vaez Afshar
- Sepehr Vaez Afsharhttps://myhbd.net/author/sepehr/
- Sepehr Vaez Afsharhttps://myhbd.net/author/sepehr/
- Sepehr Vaez Afsharhttps://myhbd.net/author/sepehr/
- Sepehr Vaez Afsharhttps://myhbd.net/author/sepehr/
Categories
Recent Comments
-

-
 Install OpenConnect VPN Server (ocserv) on Ubuntu 20.04 with Let’s Encrypt October 17, 2022 2 Comments
 -
